The installation for Playwright remains the same across various operating systems. Before proceeding, ensure that both Node.js and Visual Studio Code are on your system.
Table of Contents
- Install Playwright using NPM
- Playwright Basic Commands
- Playwright Default Files
- Run Example Tests
- View Report
- Video Tutorial
Install Playwright using NPM
Step 1: Create a New directory or folder at your desired location. Use below command to create in terminal:
mkdir playwright-demoStep 2: Open the same in Visual Studio Code or terminal

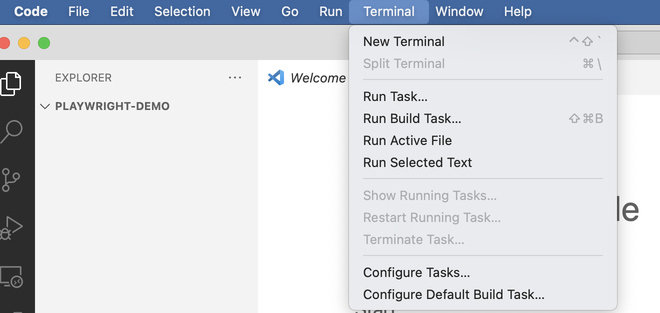
Step 3: Open Terminal
Step 4: Type below command and press enter
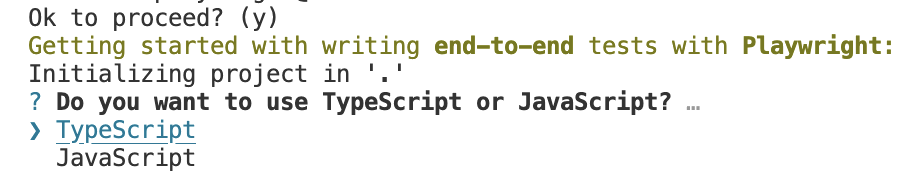
npm init playwright@latest
Here @latest will install the latest stable release; you can also specify a specific version of the Playwright. Check Playwright release here
Step 5: You will see option -Need to install the following packages:, press Enter

Step 6: Now it will ask language of your choice, By Default, TypeScript is selected; press enter.
Step 7: The Default Test folder is tests. You can use a different name here; otherwise, press enter.

Step 8: Now, it will ask to set up the GitHub Actions workflow to run tests on CI quickly. You can skip this for now by pressing Enter and later set it up.

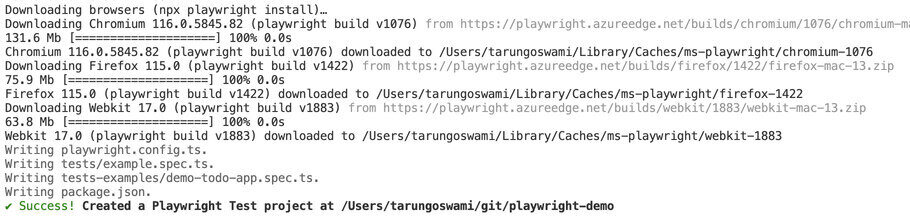
Step 9: Press Enter to install Playwright Browsers.

Step 10: Make sure browsers are installed and you see the success message.
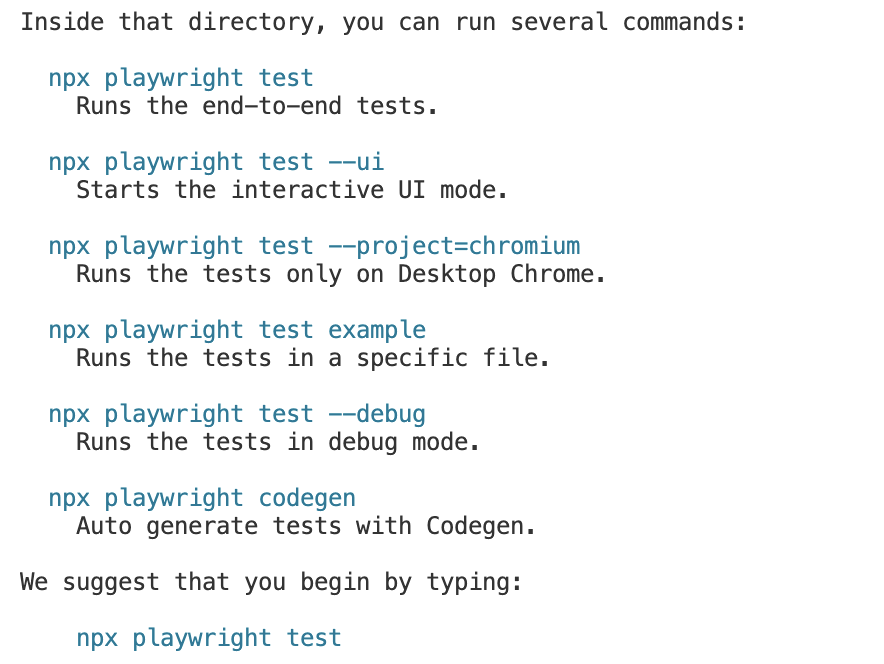
Playwright Basic Commands
Copy commands from terminal into notepad or document for future use
Playwright Default Files
Verify following files exists
  - ./tests/example.spec.ts - Example end-to-end test
  - ./tests-examples/demo-todo-app.spec.ts - Demo Todo App end-to-end tests
  - ./playwright.config.ts - Playwright Test configuration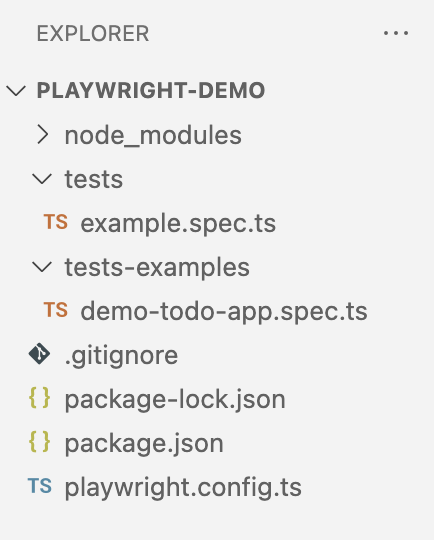
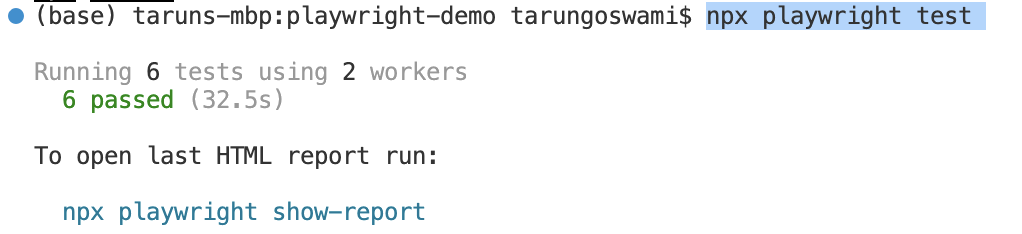
Run Example Test
Run Example Test using below command
npx playwright testBy default, tests will be run on all three browsers, chromium, firefox, and Webkit, using 2 workers in headless mode.
Playwright View Report
View Report using below command
npx playwright show-reportReport will launch in browser automatically.

- Log in to post comments