To install MongoDB Server in Windows you need to follow the following steps:
STEP 1: Visit mongodb.com. The different links will appear in front of you. Click the page that is displayed in the below-pasted picture. MongoDB Official page will appear in front of you

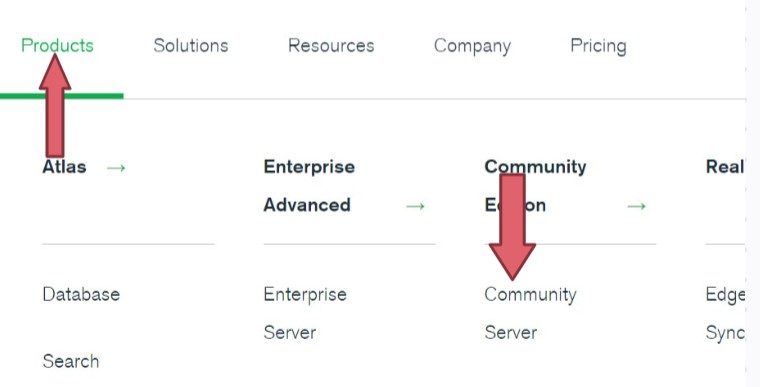
STEP 2: Hover on the Product that is present in the Top-left of the screen. You will see the community server displayed on the screen. Click on that:
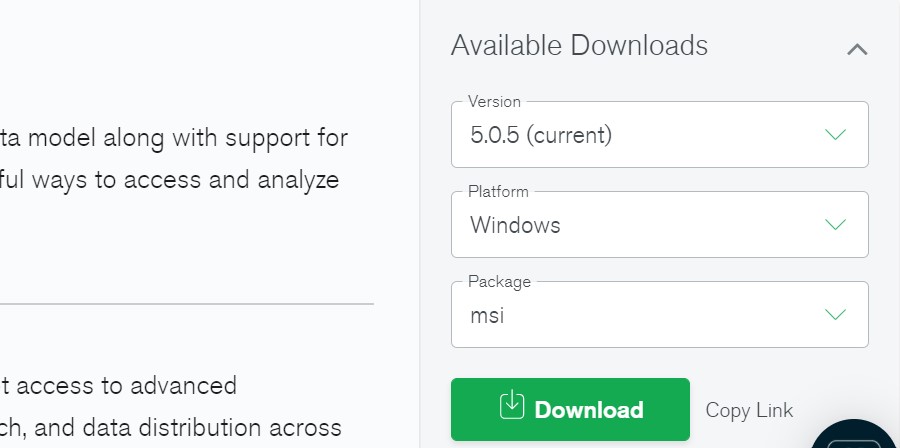
STEP 3: Scrolling Down, at the right corner, you will see the Download button. Select the Version, Platform & Package you want to download and click on Download to download the msi file. Follow the picture pasted below for the same:
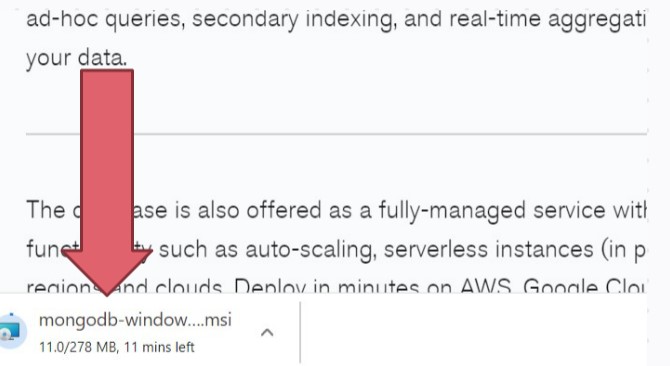
STEP 4: You will notice that the downloading will start as soon as you will click on the download button.
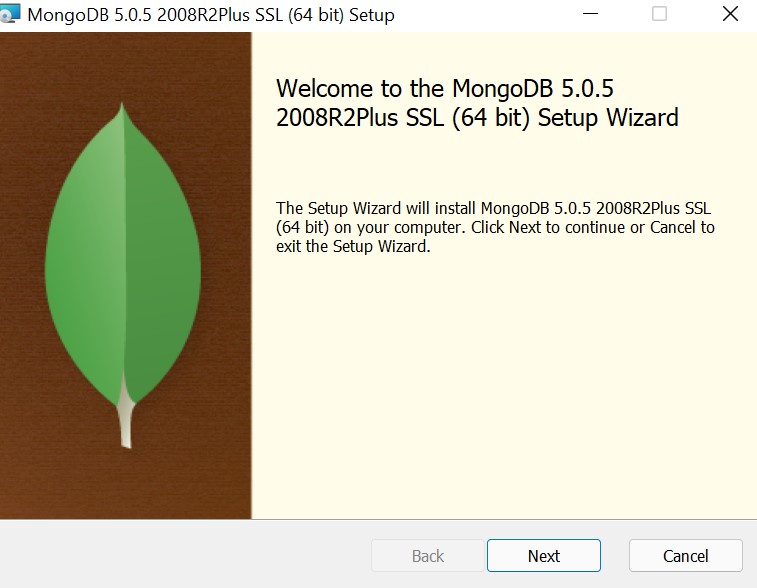
STEP 5: After the downloading is complete, click on the downloaded file. The Setup screen will appear in front of you as shown below. Click on NEXT Button.
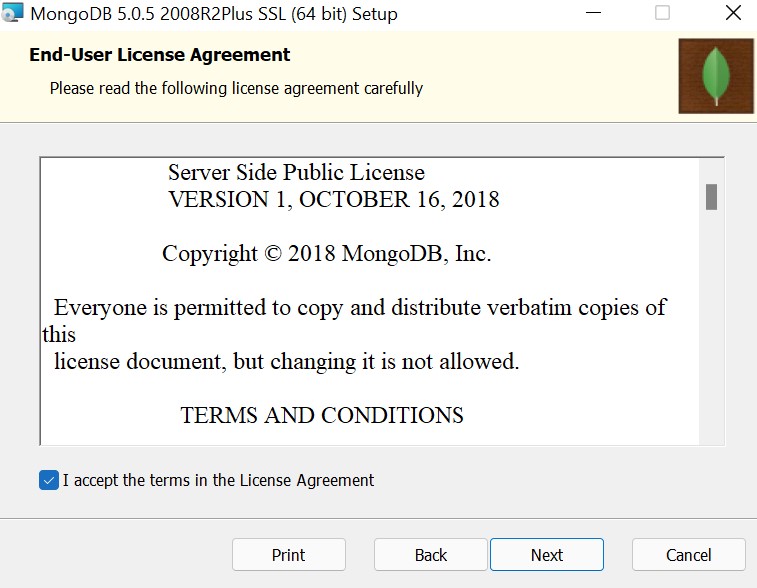
STEP 6: Agree to the License checkbox and click on the NEXT Button:
STEP 7: Now Click on customs and expand the columns by clicking the + sign displayed. You should make sure that all of the Server, Client, Router, and Miscellaneous Tool must be present in the list. Then click on NEXT Button.

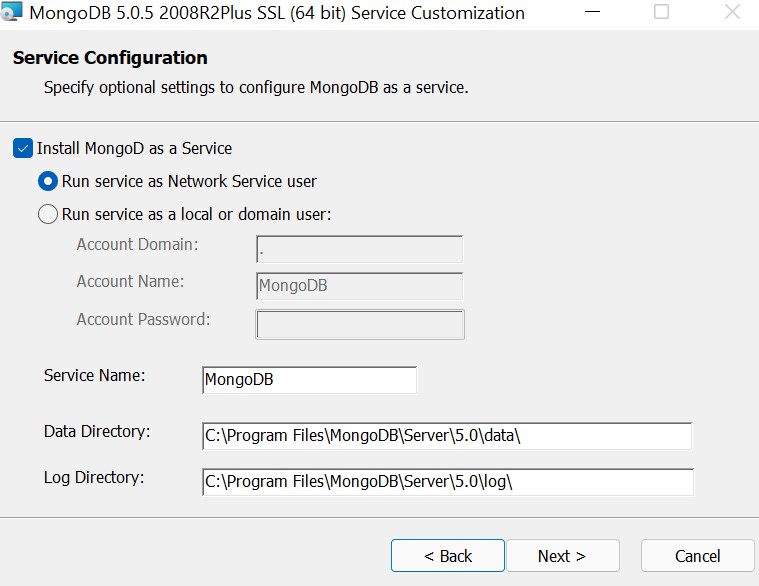
STEP 8: Tick the Check box to Install MongoD as a Service. Also, select the Location you want to provide to store Files related to MongoDB. Then click on NEXT Button.
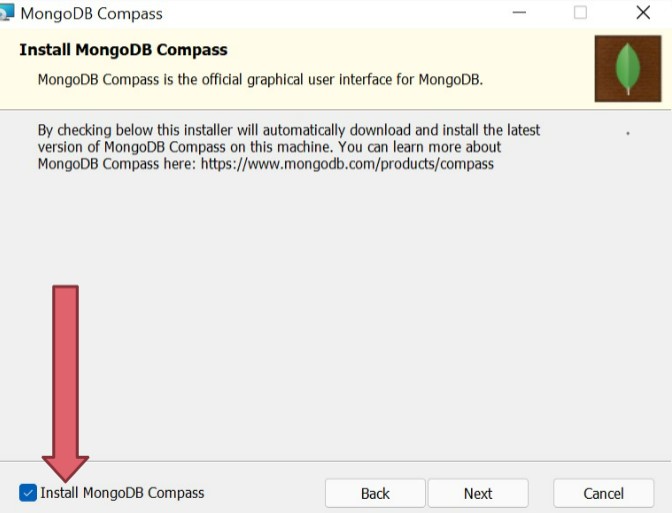
STEP 9: Grant permission for MongoDB Compass to be installed as shown in the picture. Then Click the NEXT Button.
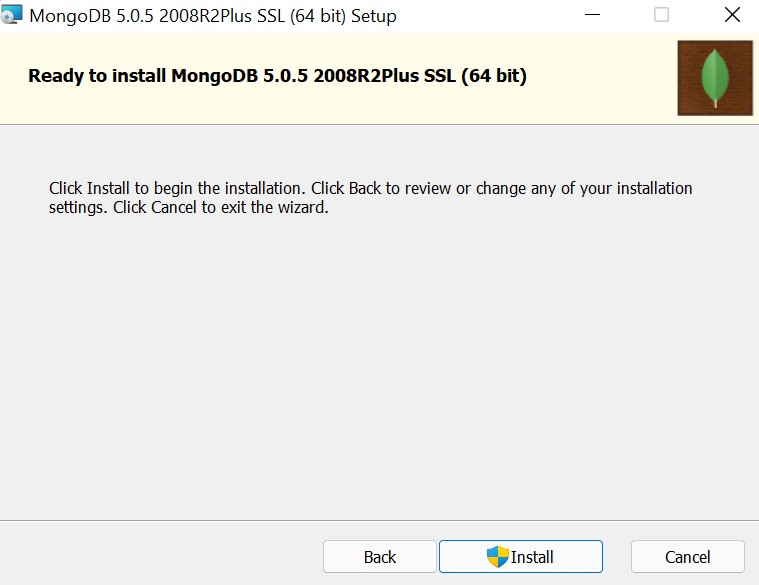
STEP 10: Now, Click on Install Button:
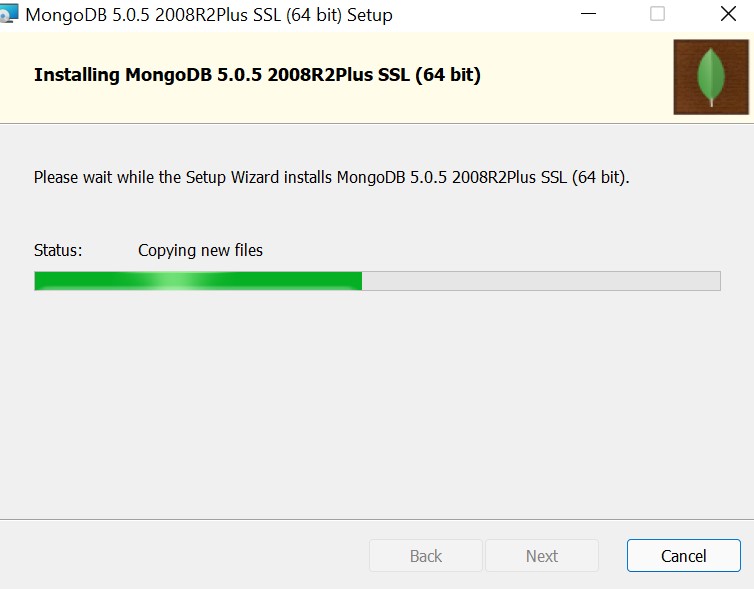
STEP 11: You will notice that the installation of MongoDB will start as soon as you will click in Install Button:
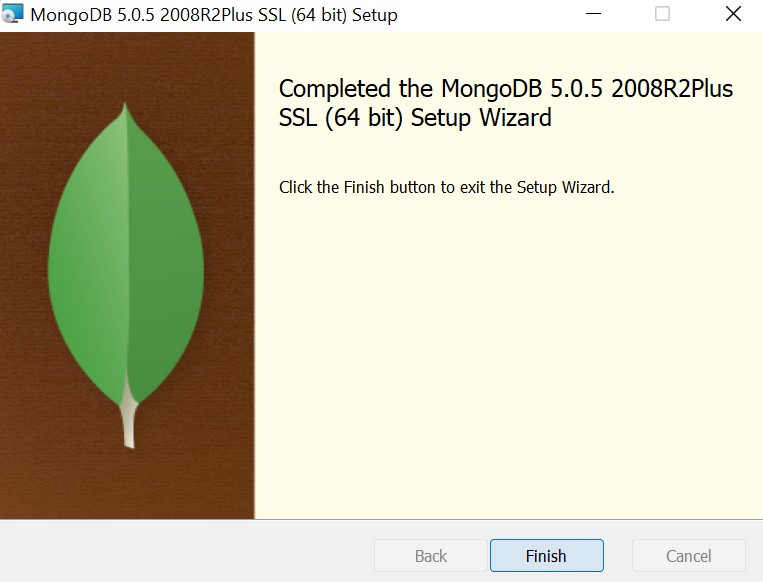
STEP 12: Click on finish and enjoy MongoDb version installed on Windows 11.
- Log in to post comments