Follow below steps in video to download and install JIRA on localhost. You can download JIRA from here. To for API references you can follow this document.
Step 1: Navigate to download archives link and click on Get Started

Step 2: Select your OS, accept agreement and click on
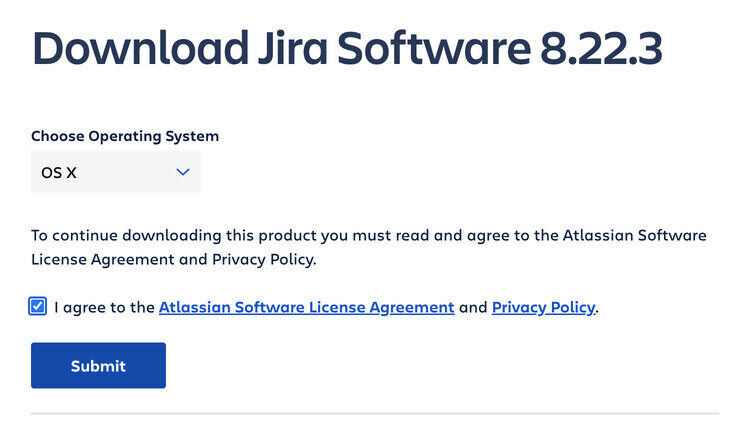
A tar file will be downloaded.
Step 3: Unzip Tar file and place the folder in your desired directory. I have moved it to Documents folder.
Step 4: Set up jira.home in jira-application.properties located in atlassian-jira/WEB-INF/classes
/Users/tarungoswami/Documents/atlassian-jira-software-8.22.3-standalone/atlassian-jira/WEB-INF/classes/jira-application.propertiesAdd value for jira.home
jira.home =/Users/tarungoswami/jira/Note: Do not use parent directory for jira.home like document in my case. Also provide absolute path.
Step 5: Run starup.sh using below command, this file is inside bin directory
sh starup.shif you are getting Wrong JVM version: Jira require 1.8 or 11 to run install the supported Java and follow Step 6 to set the path. Path for installed Java should be similar to path in Step 6.
Step 6: Change Java Path
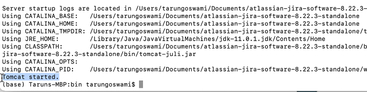
export Java_Home='/Library/Java/JavaVirtualMachines/jdk-11.0.1.jdk/Contents/Home'and execute Step 5 again. This time you will see tomcat started.
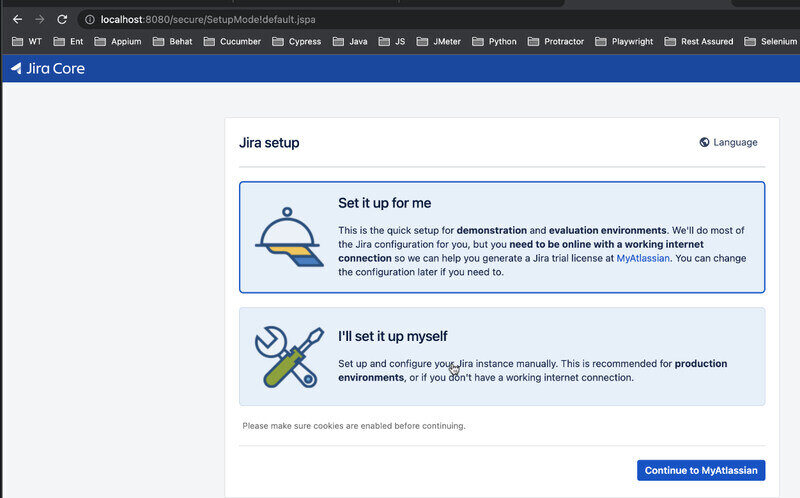
Step 7: Open your browser and type localhost:8080
Step 8: Select I'll set it up myself and click on Continue to MyAtlassian
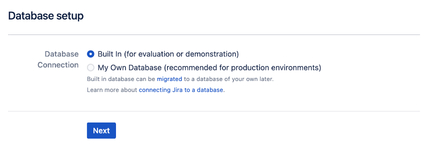
Step 9: Select Built in for Database setup and click Next
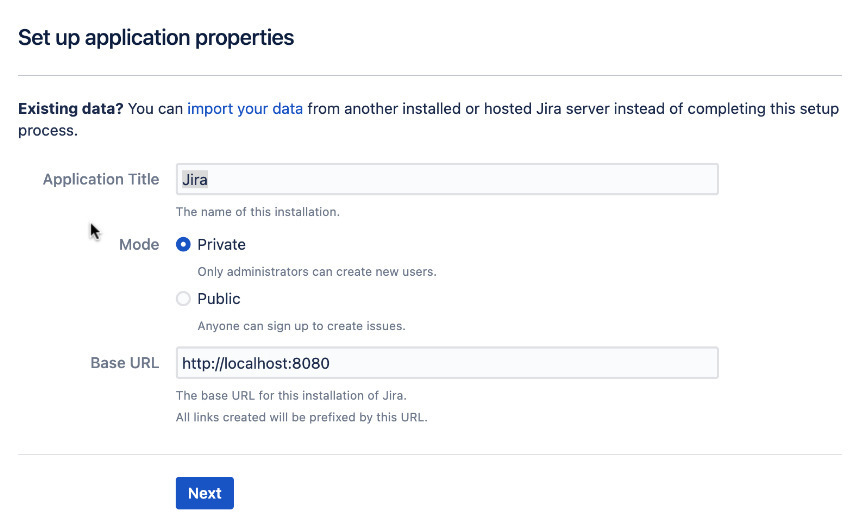
Step 10: Change values for Application Title, Mode, Base URL if you want to other wise click Next
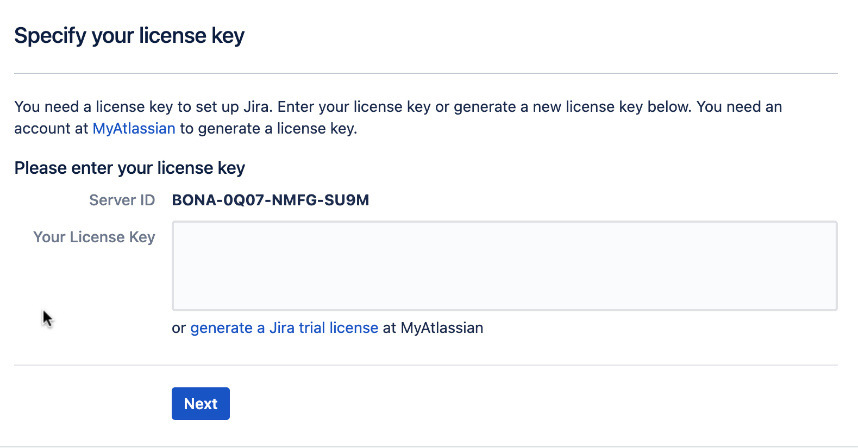
Step 11: Click on link generate a Jira trail license link
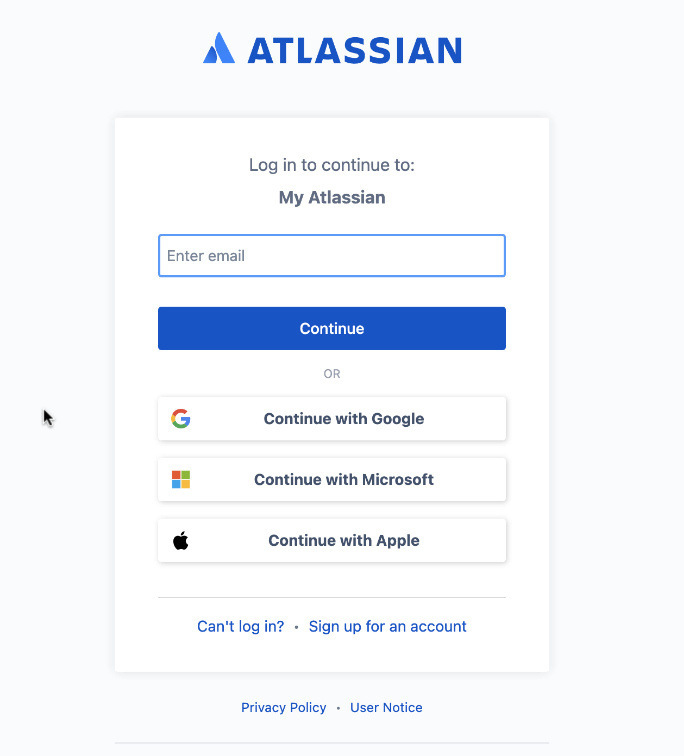
Step 12: Login or Create Account
Step 13: Make sure Jira Software (Data Center) is selected and then click on Generate License

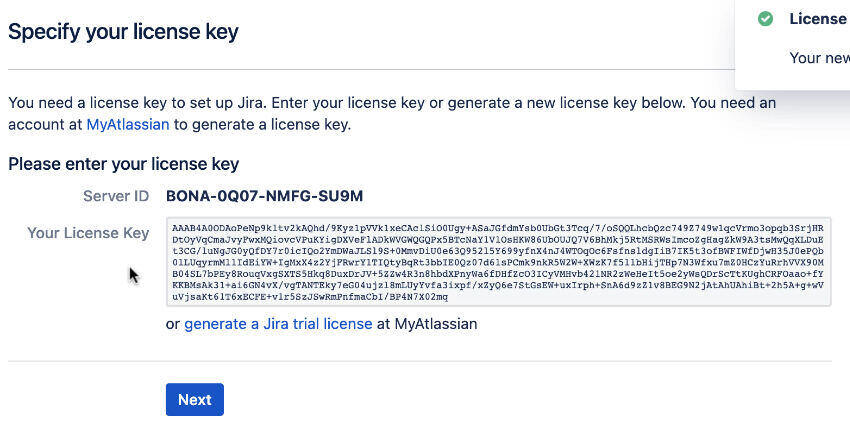
Step 14: Click Confirm if you get localhost popup. Your Key will be auto populated. Now click on Next
Step 15: Setup Admin account and click next
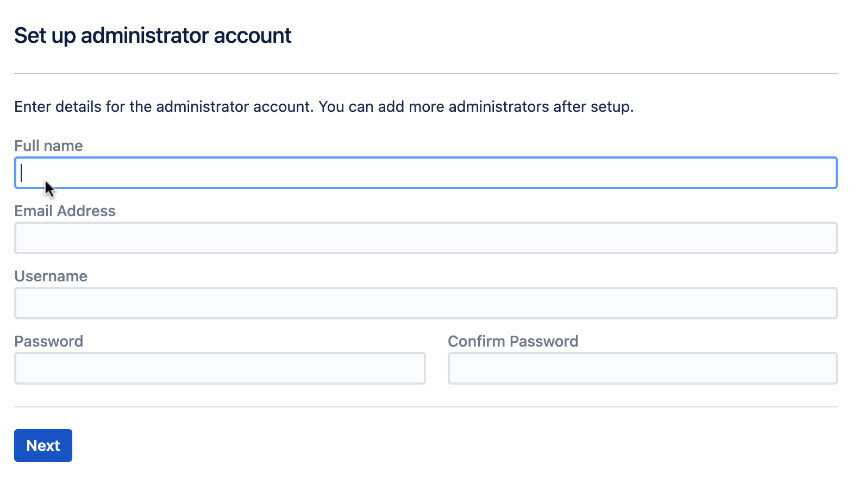
Remaining Steps are easy to follow.
- Log in to post comments