We will cover up how to download and install MySQL workbench step by step.
Step 1: Go to https://dev.mysql.com/get/Downloads/MySQLInstaller/mysql-installer-web-community-8.0.27.1.msi and download should start.
Step 2: Run the downloaded installer, and it should open an installer popup like this
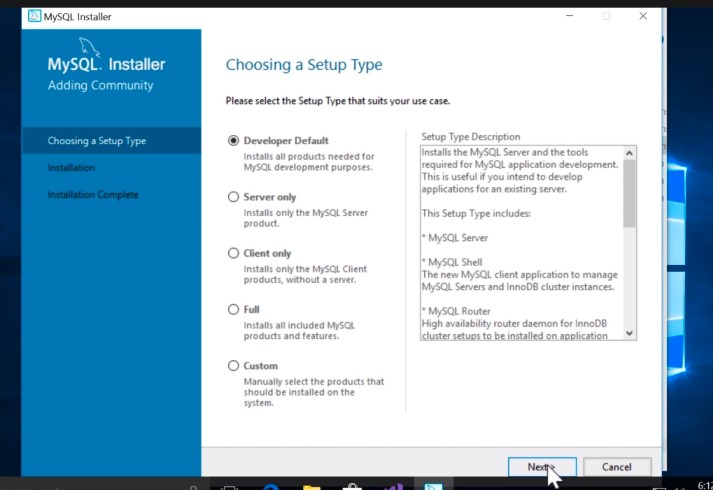
Choose developer default and click on next.
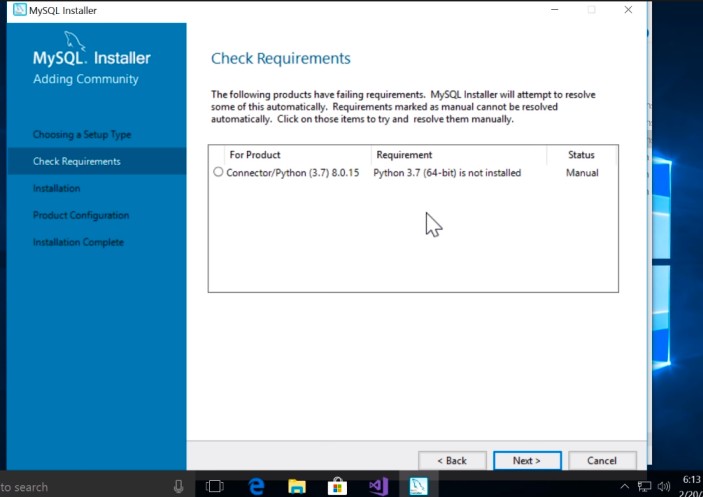
Step 3: You will see this page asking for a python connector because, in my machine, I don't have python installed. Maybe you do. It doesn't matter. Just click on next.
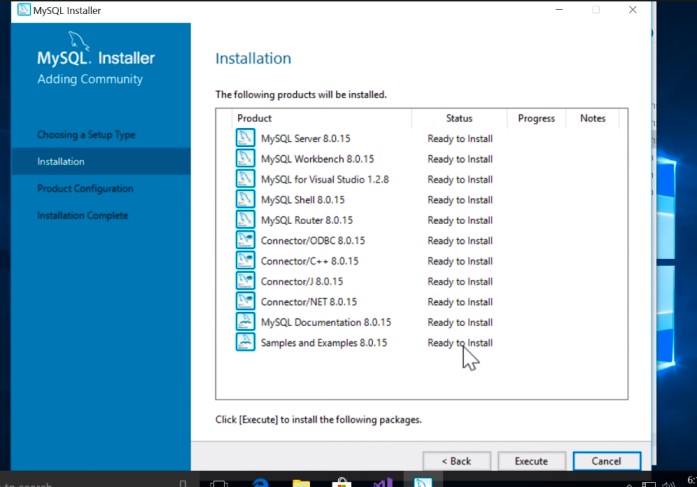
Step 4: On the next page, we can see the SQL packages, workbench we need, and some SQL connectors it needs to install. Click on execute to proceed.
Just wait till all the products get downloaded and installed until you see the following button.
Step 5: Click on next. It will show some default settings on the upcoming pages, leave it to default and click next.
Step 6: Stop when you reach this page to set the password for the root user. Click next after selecting your password.

Step 7: Click next and leave the next page as default, and on the next page, you'll see execute click on that and let it apply the configurations.
Step 8: Now, you'll see the next and execute options on the following few pages. Do all this and keep the default.
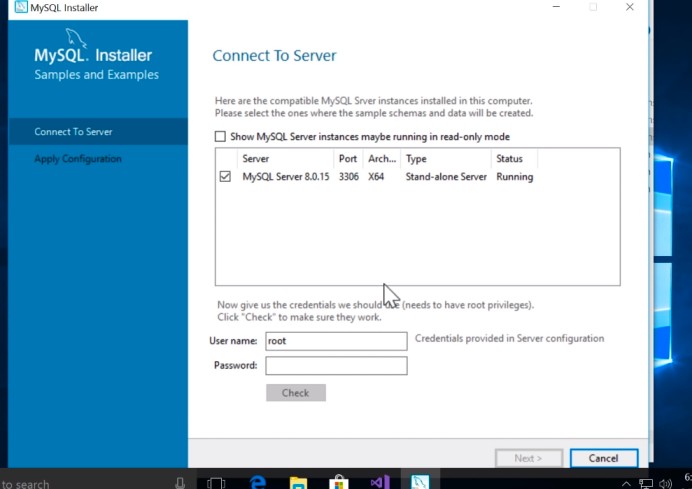
Step 9: Stop at this page enter the root password you set before. Click on next.
Step 10: After this step, it will again execute the configurations and apply them, keep other settings default, and move on by clicking next and execute.
Step 11: Finally, after all these steps, we can now conclude that MySQL workbench is successfully installed on your machine.

- Log in to post comments